Fender Mute Installation
A picture tells a thousand words, so let's start with a cross sectional diagram of the Fender mute:
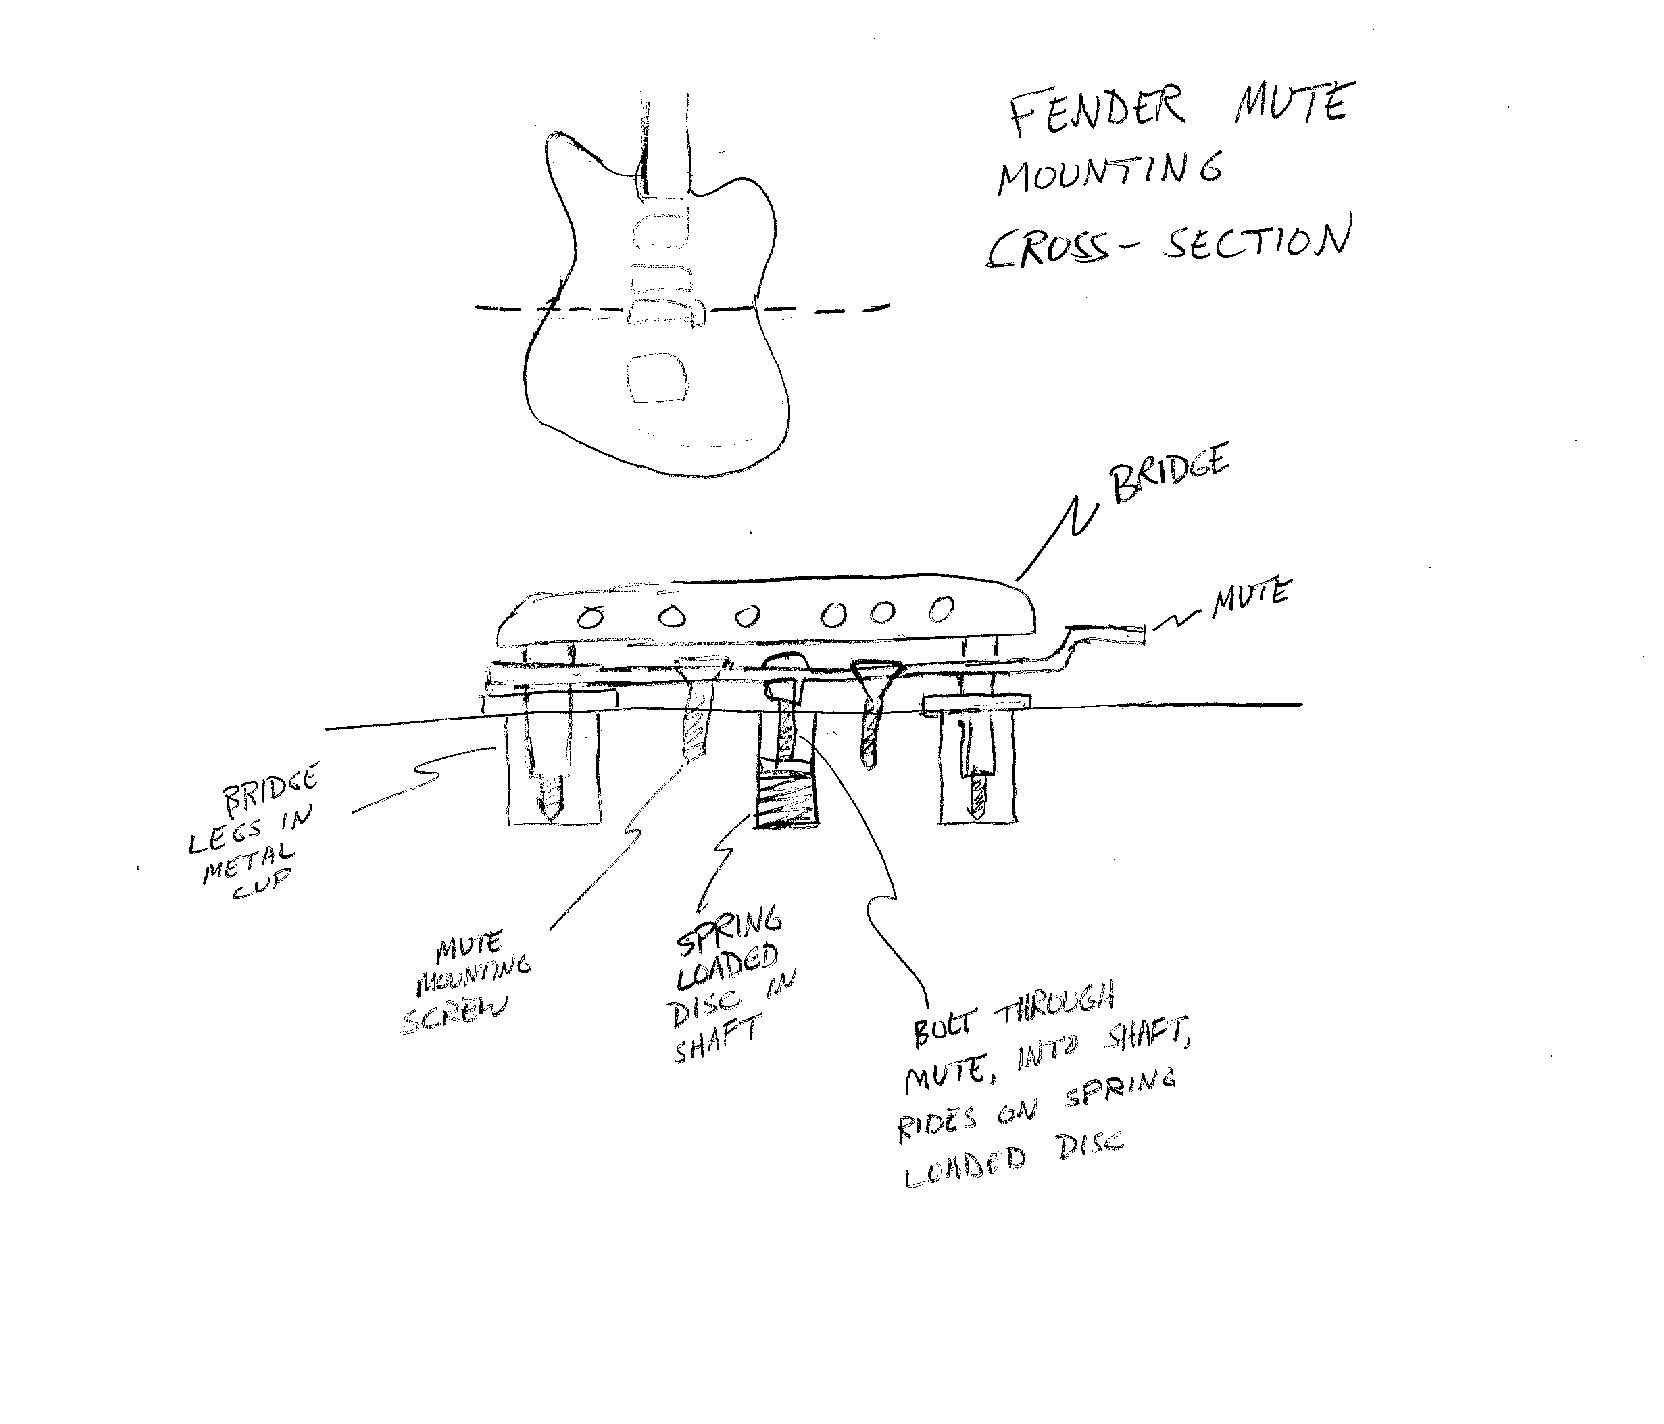
(For a higher resolution image, click here.)
The Fender mute works on the basic principle of using a spring-loaded foam pad to press against the strings to provide the mute function. The foam pad sits on a metal plate underneath the guitar bridge. The plate is attached to the guitar body by two screws. A bolt sticks through the center of the mute plate, into a cylindrical hole in the guitar body. A metal disc sits on a spring inside the cylinder, providing the "spring action" of the mute.
If you are simply re-installing a mute on a vintage Jaguar, you've got it easy, since the spring loaded disc should already be in the guitar. If you are installing a mute in a Japanese reissue Jaguar, your challenge is to try to re-create the factory unit. If you are installing a mute in a Jazzmaster, you have the addition task of making room for the mute. You will need to file down the screw mounts on the bridge side of the bridge pickup. You should be able to reduce the mount height by half without any problems. Take the cover off the pickup, and file the mounts. Be careful, and only remove as much as you need to.
For the spring loaded disc, I've used a dime as the disc, and a spring with roughly the same diameter underneath that. The factory rout is significantly smaller, perhaps 3/8" in diameter, but the dime works pretty well. The goal is to allow the mute plate to have a positive lock in the "on" position but also not be so stiff that you can't rock it on and off with your pinky. Expect that you will have to spend time finding the right balance of length of the bolt, depth of the rout, height of bridge and amount of spring that you need to get the feel you want. You may find that in order to have space to get the right feel from the mute, you will have to raise the bridge significantly. If this is the case, you can put a small shim under the neck of the guitar to allow for better action with the higher bridge.
Once you have the general feel correct, put strings on the guitar and see how it works. Again, expect some trial and error time; you will likely have to take the strings on and off several times to fine tune the mute.
Below are some pictures of the mute installation on my Jazzmaster that will give you some ideas about what the finished product looks like.
 Looking down the body with the strings on. Note that the bridge rides above the mute and the two do not touch.
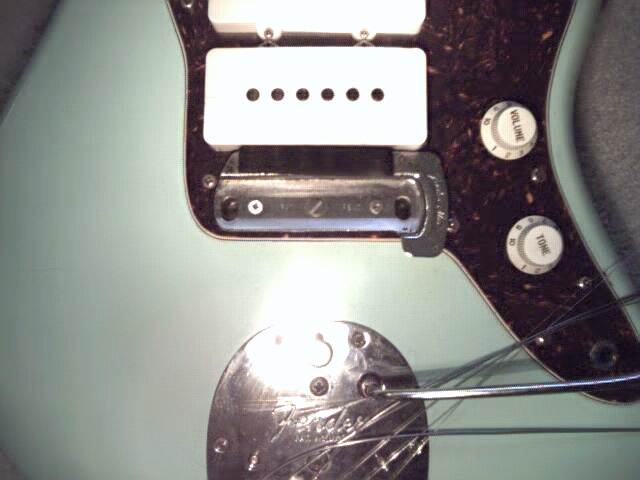
 Looking down on the body from above, you can see how the bridge-side mounts of the bridge pickup have been lowered to make room for the mute.
 Again, from the above the guitar. Here the bridge has been removed. You can see the two small screws which hold the mute to the body, and the large center screw which engages the spring loaded disc. Note that for my installation, I filed the tops of all the screws in order to have better clearance for the bridge.
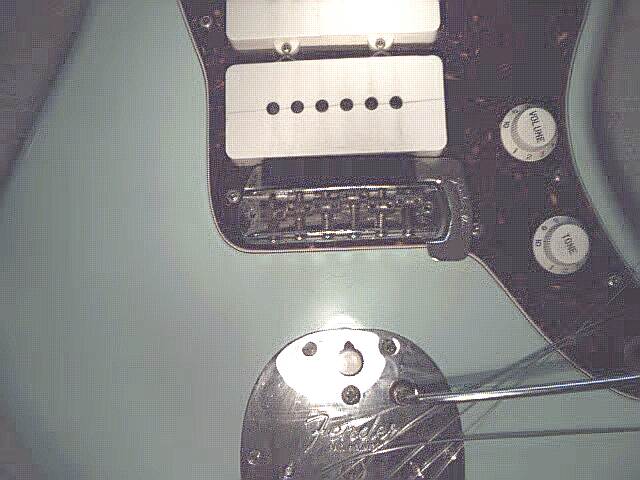
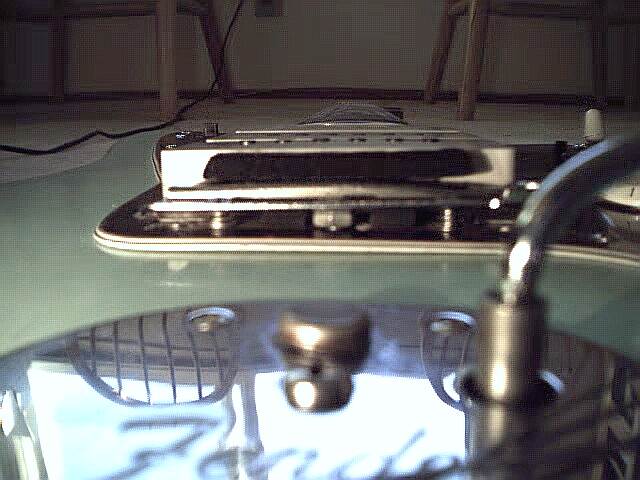 Mute shown without bridge. Here, you can see the center mounting screw. Also, you can see small springs under the mute mounting screws. These are not necessary, but can make for a smoother "toggle" feel. The mute is in the "off" position, and the height of the mute foam is roughly equal to the height of the bridge pickup.
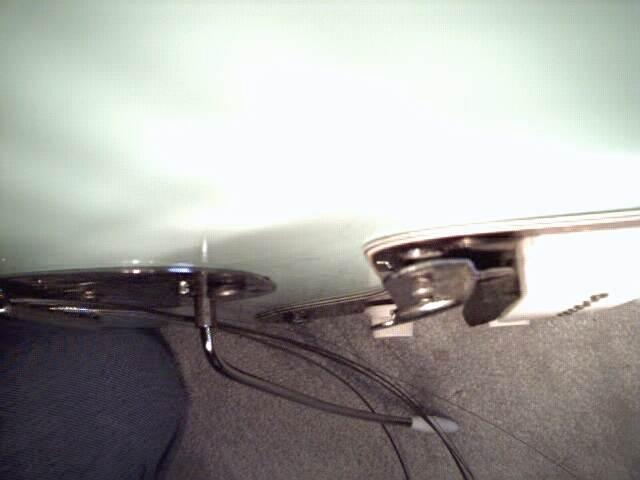 Side view of the above picture. Again, notice the relative positions of the mute to the pickup and guitar body.
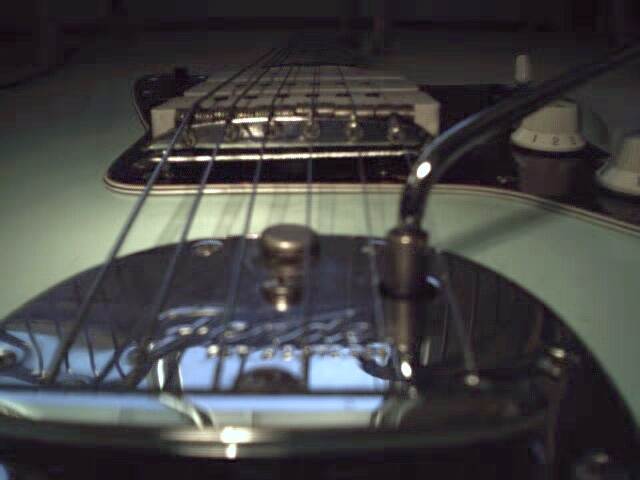
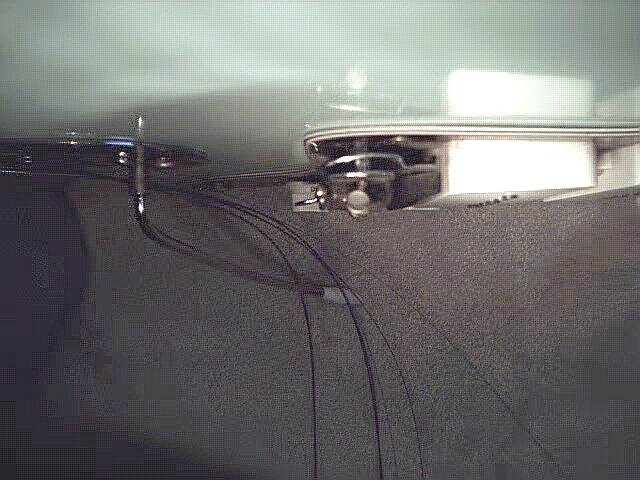 Same as last picture, but with bridge installed. Note the space between the bridge and the mute; the two should not be in contact.
Back to the Tech Page