Page 1 of 5
Taking a stab at finishing a Pearl drum set
Posted: Fri Jun 11, 2010 7:01 pm
by oipunkguy
a good friend of mine has been bugging me to finish a drum set he has and so I finially gave in

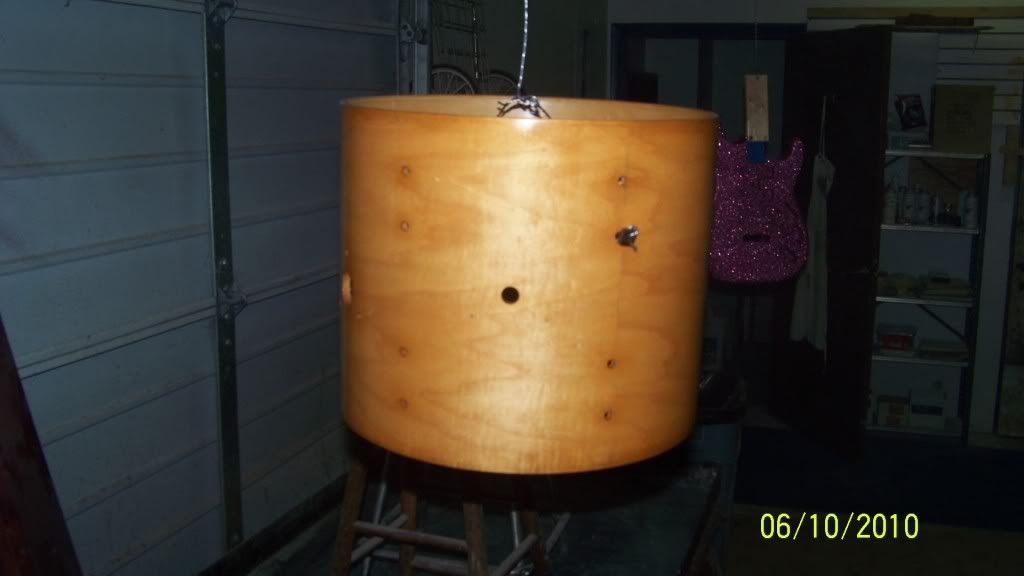
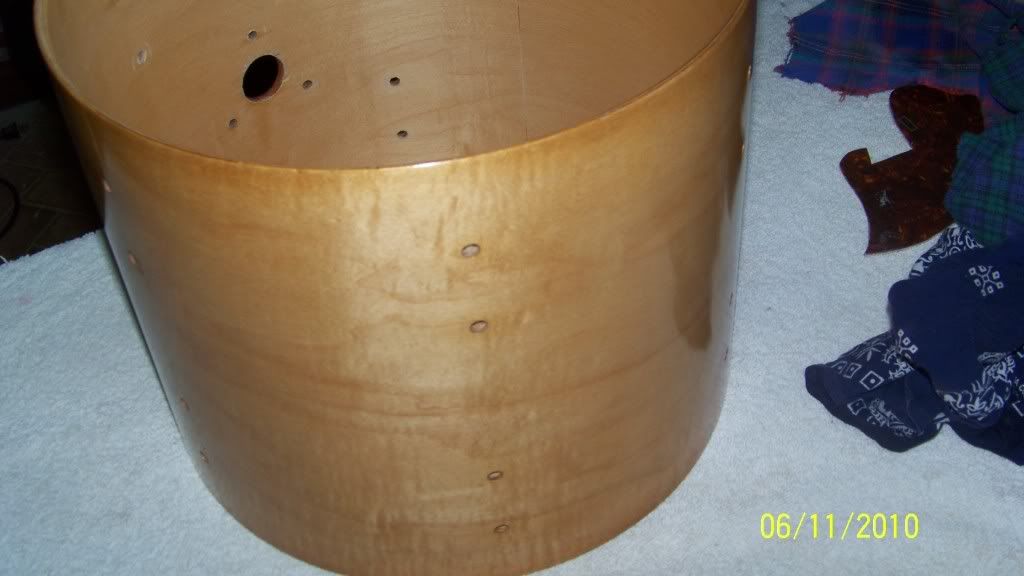
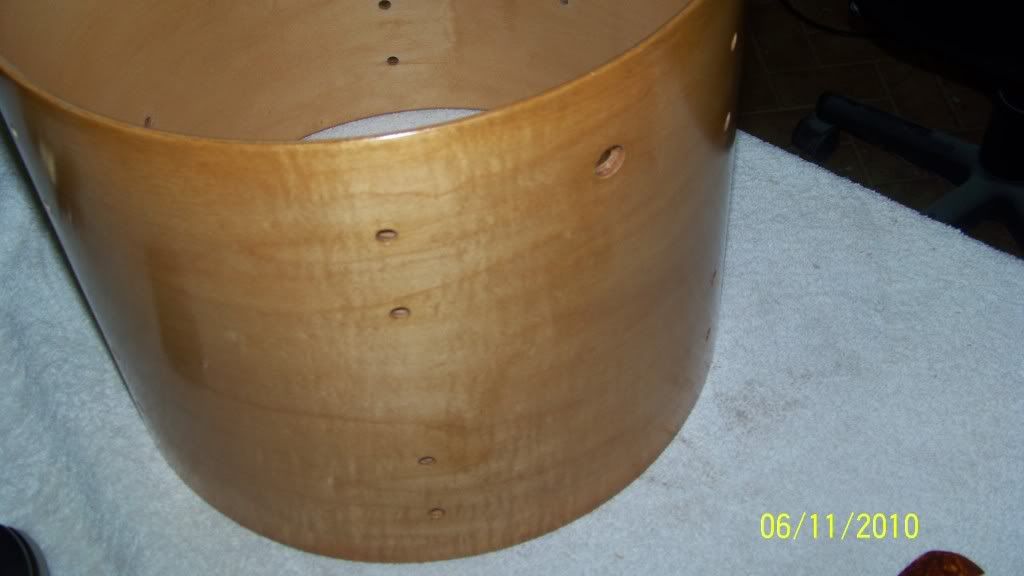
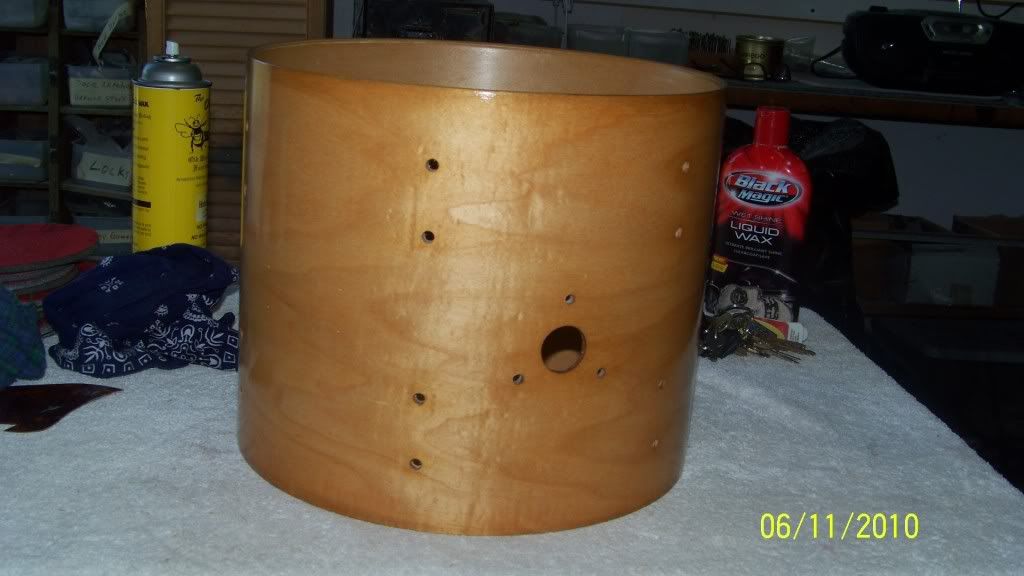
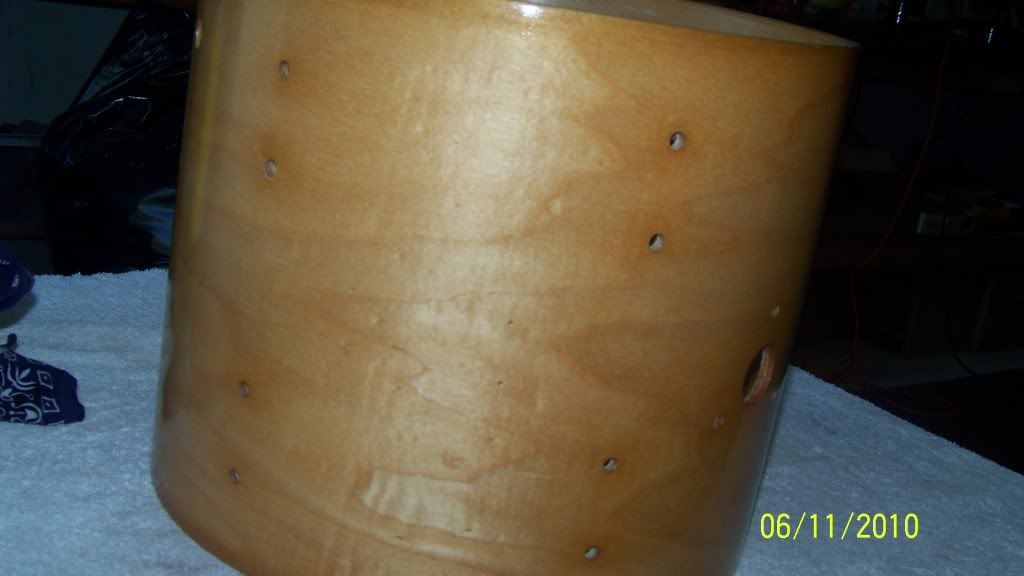
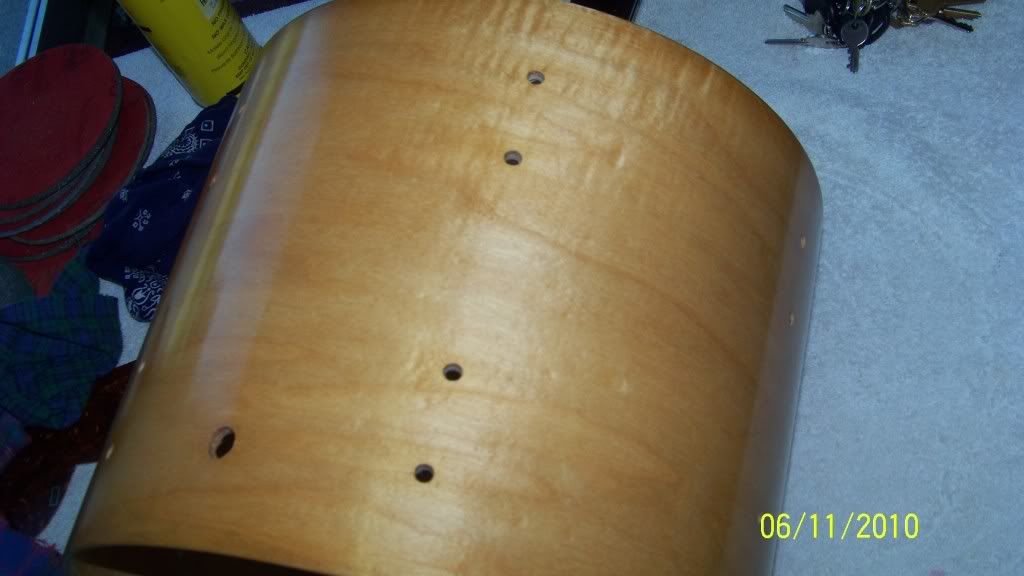
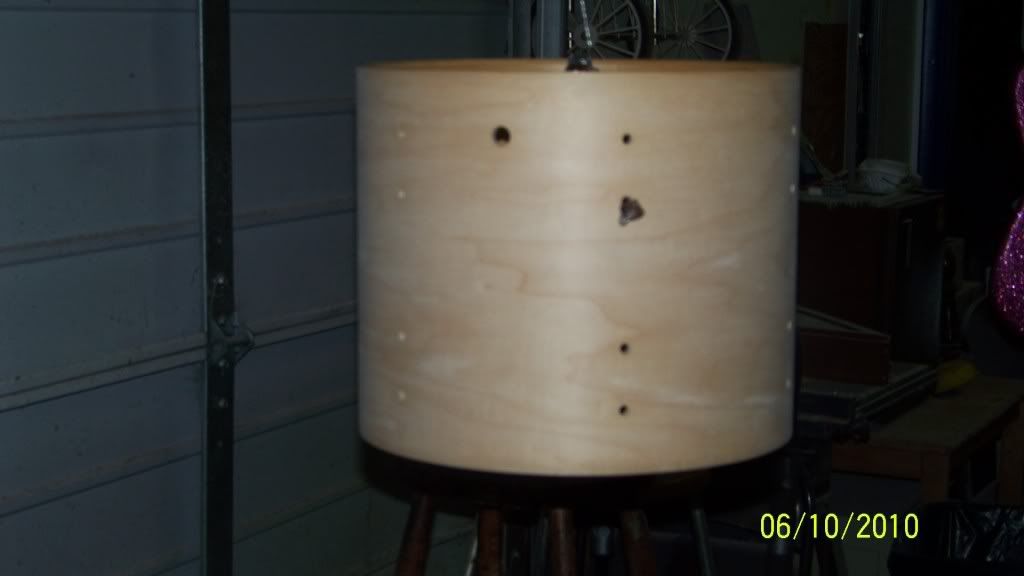
Since I'm overloaded with work in my shop, I asked him to bring me one drum at a time. this first one is a tom, the smallest on the kit. originally the kit was wrapped, and he did a lot of the prep work with my guidence. maple shells, he requested a natural stain on it. personally I wanted to go with a silverburst, but he wasn't up to that idea, lol. here's some pics.
Re: Taking a stab at finishing a Pearl drum set
Posted: Fri Jun 11, 2010 7:13 pm
by oipunkguy
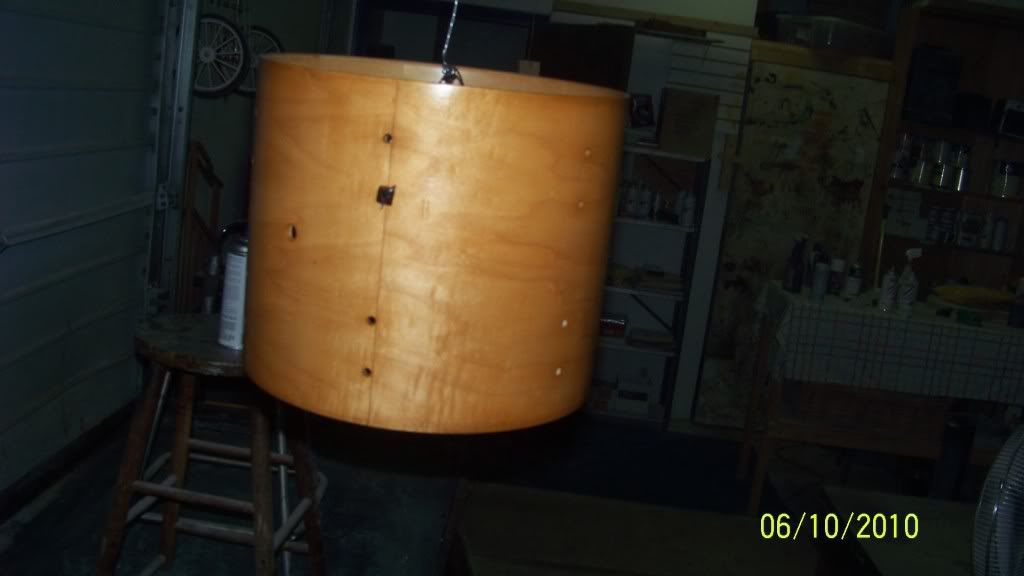
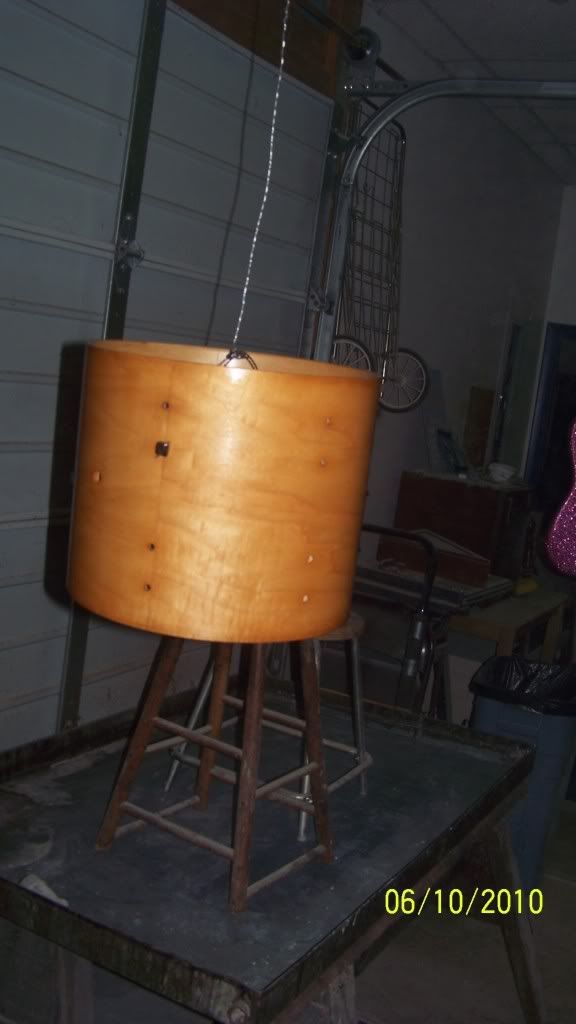
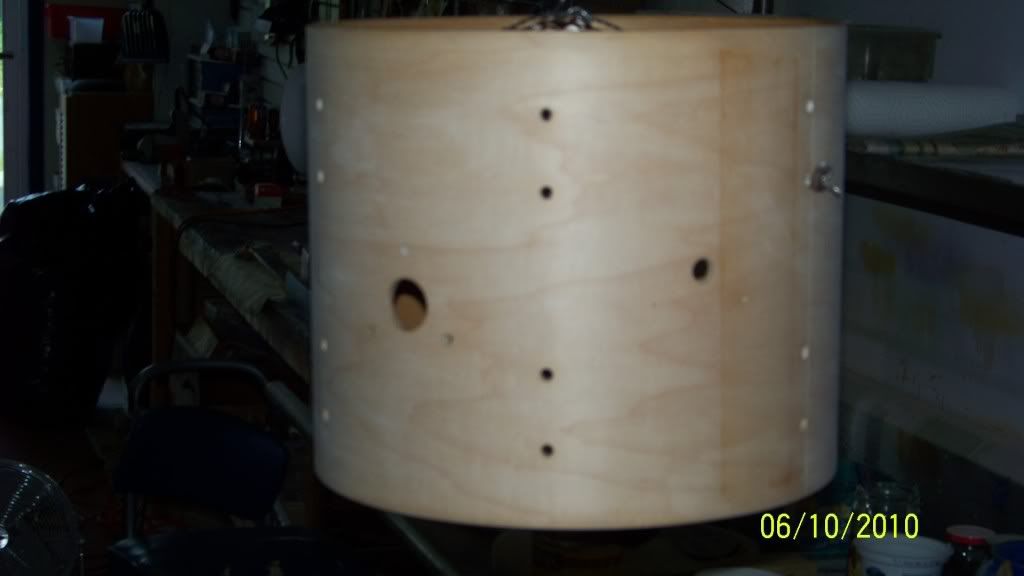
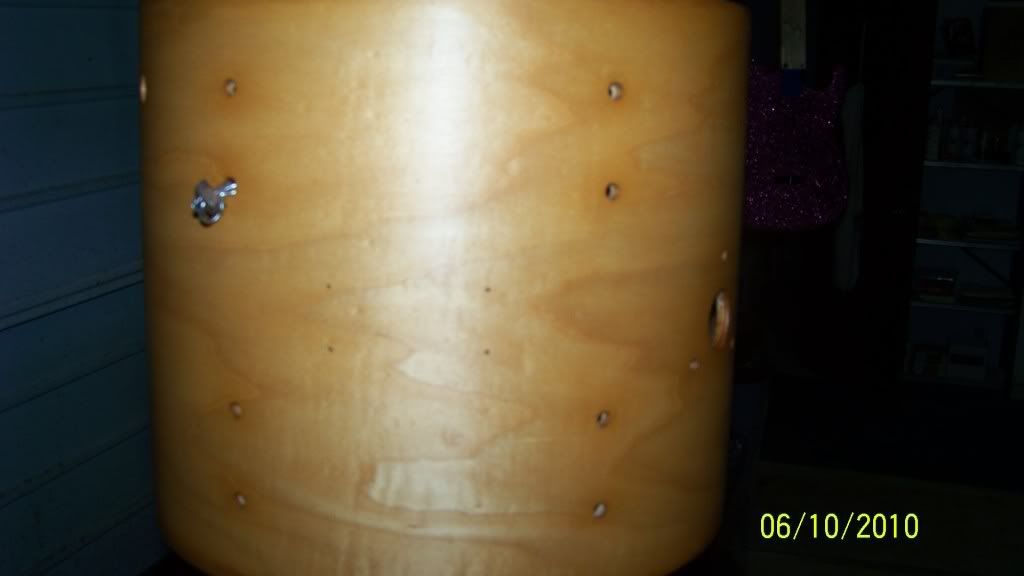
first thing I did with the shell was I hand rubbed it out a little with a 500 grit pad, then figured out how to hang it. I decided to get some wire we use in our shop to redo wire hangers on antique picture frames and twisted up the wire a bit. then I ran a piece of wire between two of the holes on the shell used for the hardware. at each end I twisted the wire off with a metal washer, and then attached another piece of wire to the inside and hung that to the garage door in my shop. here's what the shell looked like after I applied the natural stain.
Re: Taking a stab at finishing a Pearl drum set
Posted: Fri Jun 11, 2010 7:16 pm
by oipunkguy
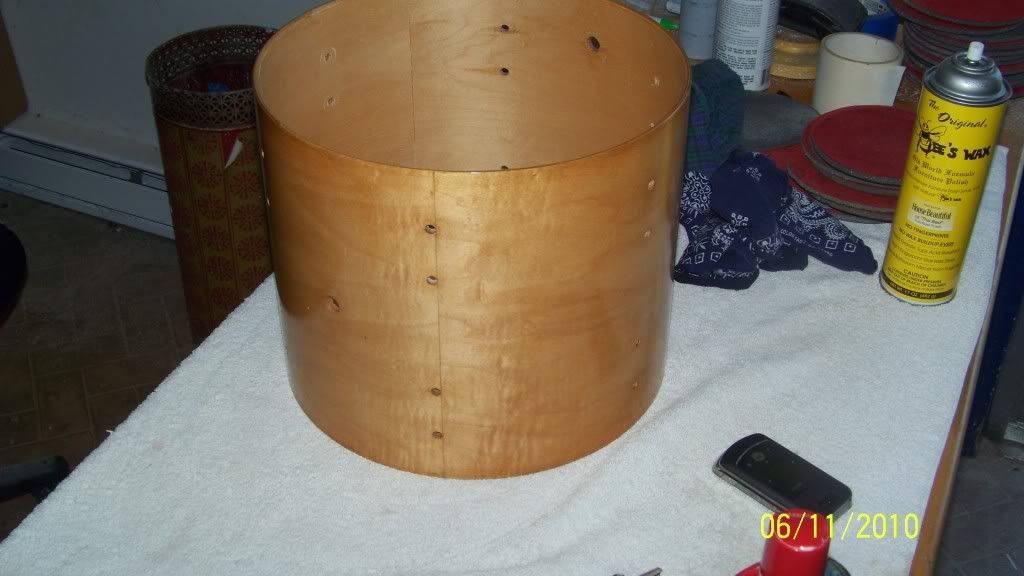
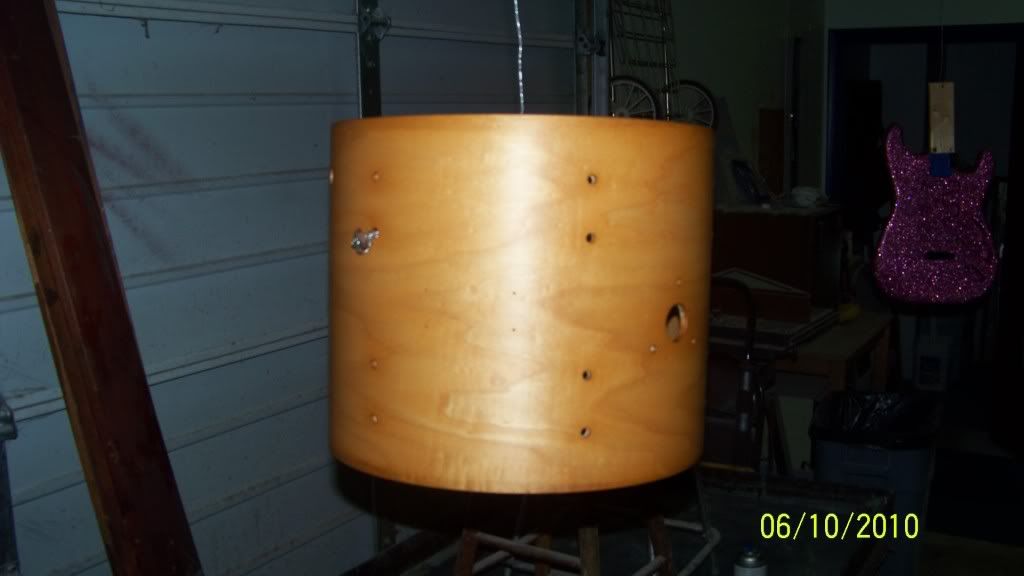
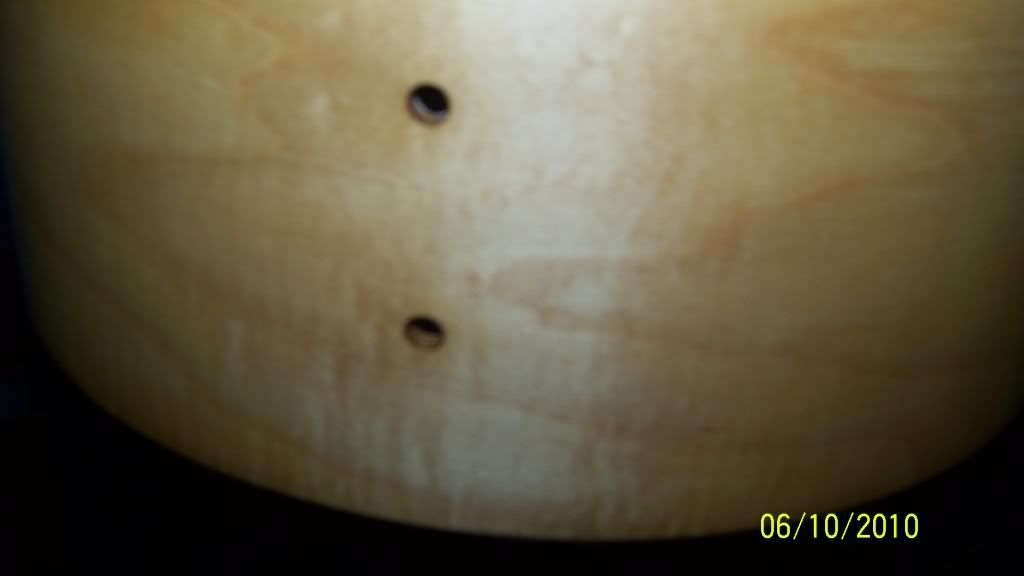
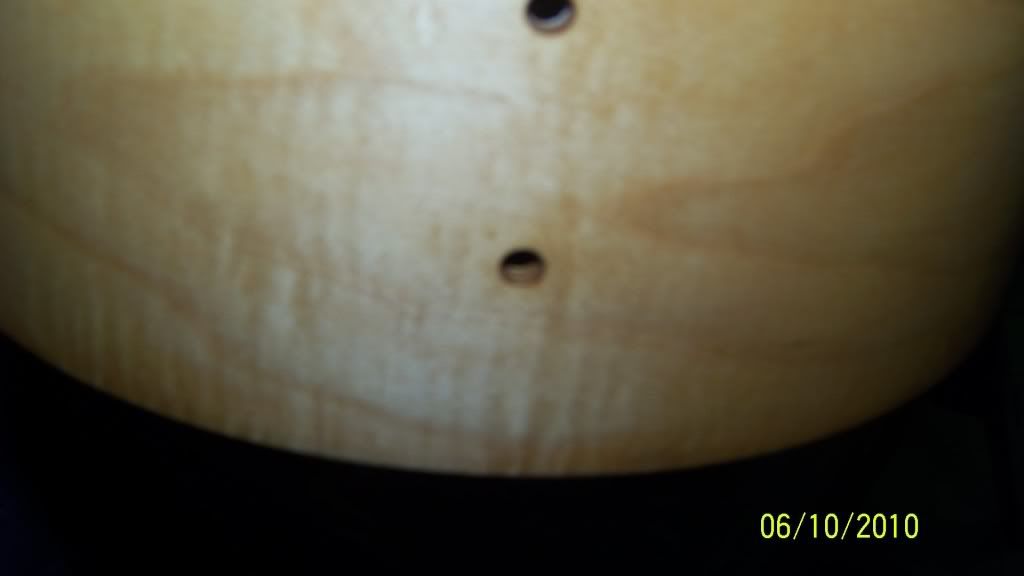
here's what it looked like after wiping off the extra stain and I shoot in once with a thin coat of nitrocellulose lacquer.
Re: Taking a stab at finishing a Pearl drum set
Posted: Fri Jun 11, 2010 7:20 pm
by oipunkguy
Re: Taking a stab at finishing a Pearl drum set
Posted: Fri Jun 11, 2010 7:29 pm
by oipunkguy
Re: Taking a stab at finishing a Pearl drum set
Posted: Fri Jun 11, 2010 7:34 pm
by KRamone27
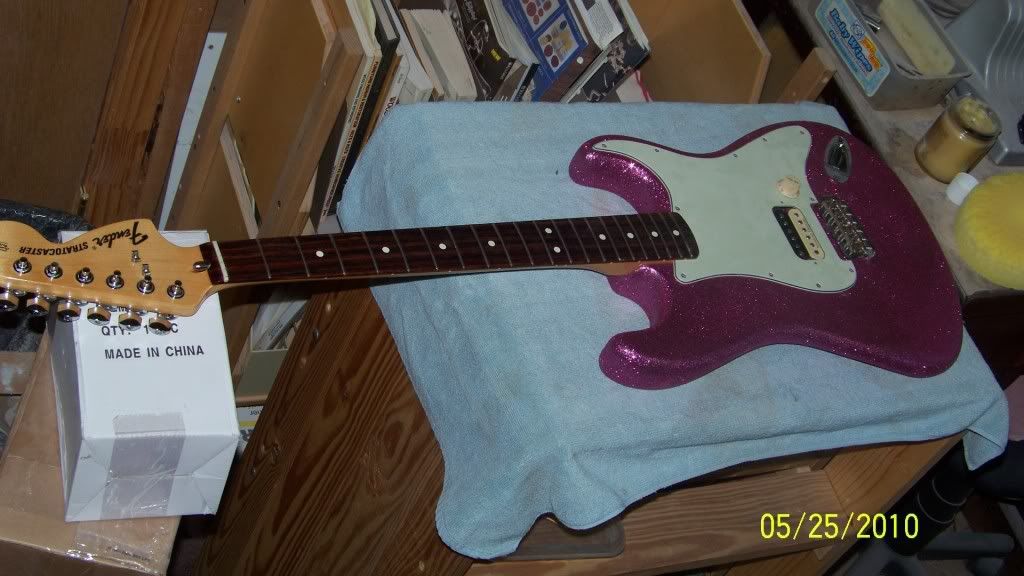
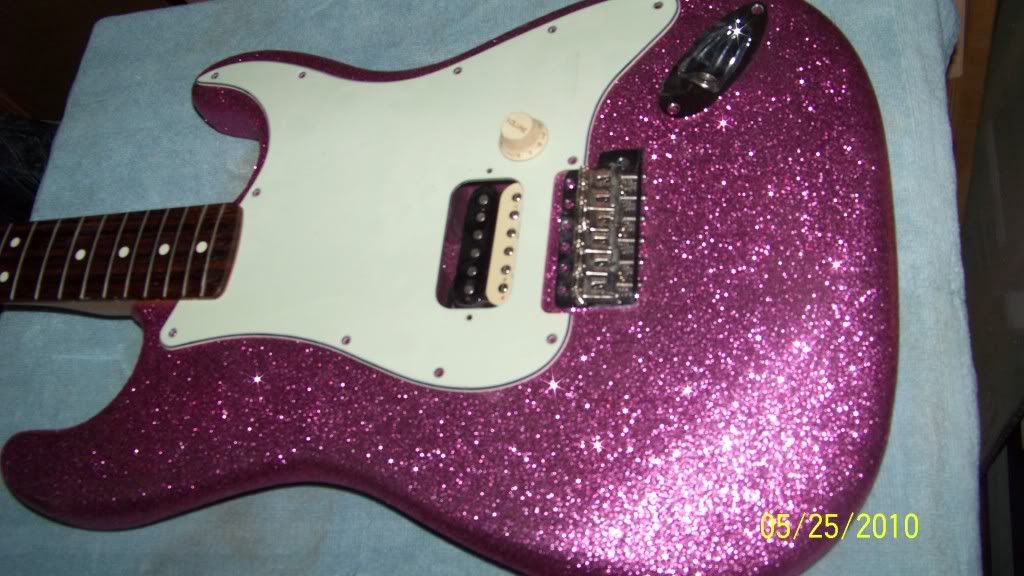
I dig it, I also like the purple metal flake body in the background.
Re: Taking a stab at finishing a Pearl drum set
Posted: Fri Jun 11, 2010 7:53 pm
by oipunkguy
yeah thats my brother's strat project i been finishing.
Re: Taking a stab at finishing a Pearl drum set
Posted: Fri Jun 11, 2010 8:16 pm
by MWaldorf
the drum looks really good - surprisingly nice looking wood for a drum that was wrapped.
Re: Taking a stab at finishing a Pearl drum set
Posted: Fri Jun 11, 2010 9:17 pm
by Sarah93003
The drum looks great! Hey, where's my pink Strat?

Re: Taking a stab at finishing a Pearl drum set
Posted: Sat Jun 12, 2010 1:19 am
by Veenture
What a nice challenge for you Aaron, drawing innovative ideas from the grey matter

-great job too! I notice at some stage you mention the use of a lot of water. But water can be an enemy of wood, right? I was thinking of using gum spirits of turpentine instead (NOT the common household terpentine thinner!). I remember using it on a part (top) of an antique desk which someone had ruined by slapping ordinary varnish on it. I smoothed it out using gum spirits of terpentine and the finest of sandpaper. The liquid simply evaporates and leaves the sandpaper alone and the results were very pleasing...the surface looked like it had been polished centuries long

 Since I'm overloaded with work in my shop, I asked him to bring me one drum at a time. this first one is a tom, the smallest on the kit. originally the kit was wrapped, and he did a lot of the prep work with my guidence. maple shells, he requested a natural stain on it. personally I wanted to go with a silverburst, but he wasn't up to that idea, lol. here's some pics.


